


AC Installation in Sisters, OR
Stay cool and comfortable all summer long! Mountain View Heating, Inc. provides expert AC installation in Sisters OR. Schedule air conditioner service now.

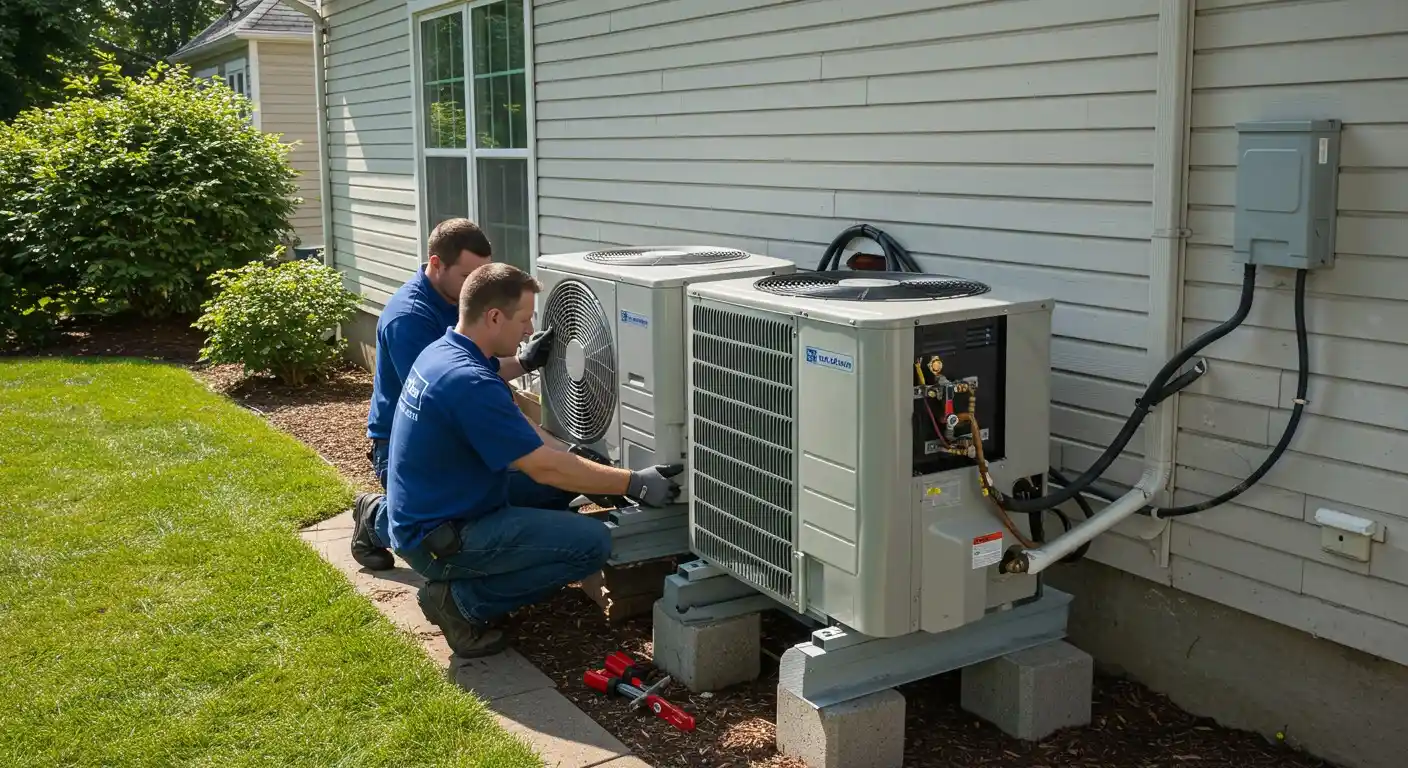
AC Installation in Sisters, OR
When you’re dealing with an aging AC system, uneven cooling, high energy bills, or a unit that keeps breaking down in Sisters, OR, it’s time to get the problem handled correctly. Mountain View Heating is known for honest pricing, dependable service, and trusted technicians, using a targeted inspection to confirm system needs, eliminate the problem, and help keep the issue from coming back with properly matched equipment. A failing cooling system is not something to push off, and we install quickly to restore dependable comfort.
Why professional AC installation matters in Sisters, OR
Sisters sits in Central Oregon where summer days can be warm and dry, while nights cool off quickly. That diurnal swing, higher altitude, and the prevalence of well insulated newer homes create unique load and airflow considerations. A properly sized and installed AC system will:
- Maintain even temperatures day and night without short cycling
- Lower energy use and monthly cooling costs by matching capacity to actual load
- Improve indoor comfort and humidity control in dry heat
- Reduce wear on the system and extend equipment life
Installing the wrong type or size of equipment, or skipping proper duct and electrical work, is the most common cause of poor performance and repeat service calls.
Common AC installation types and choices for Sisters homes
- Central split system replacement: Most common for homes with existing ductwork. Involves outdoor condenser and indoor coil paired with furnace or air handler.
- Heat pump installation: Efficient choice in moderate climates. Modern heat pumps provide both cooling and heating, useful during shoulder seasons.
- Ductless mini-splits: Best for homes without ducts, additions, or rooms that need independent control.
- System upgrade to high efficiency: Higher SEER units, two-stage compressors, and variable-speed blowers for tight temperature control and lower operating costs.
Typical problems we prevent with a professional installation
- Oversized or undersized equipment causing short cycling or inadequate cooling
- Inadequate refrigerant charge and improper airflow that reduce efficiency
- Incompatible indoor and outdoor components leading to warranty issues
- Electrical panel capacity or circuit issues that create hazards or trip breakers
- Duct leaks and poor distribution that make some rooms too warm or too cold
The diagnostic and design process: what to expect before installation
- Initial assessment and Home Load Calculation
- A certified technician performs a Manual J load calculation to determine your home’s actual cooling needs based on orientation, insulation, window types, occupancy, and local climate. This replaces rule-of-thumb sizing and prevents common mistakes.
- System selection
- Using load results, the technician recommends systems matched for capacity and efficiency. Options include single-stage, two-stage, and variable capacity systems, plus heat pump alternatives and ductless solutions.
- Duct and distribution review
- A duct inspection or Manual D design identifies leaks, undersized trunks, or poor registers. Where needed, duct sealing, balancing, or redesign is planned before installation day.
- Electrical and site plan
- The team reviews your electrical panel and circuit layout to ensure proper amperage and a safe disconnect location. Site preparation includes determining the condenser pad location with required clearances and drainage.
- Permitting and warranty verification
- Local building permits and inspections are typically required in Sisters and neighboring jurisdictions. A professional installer coordinates permits and ensures manufacturer warranty registration requirements are met.
Step-by-step installation process
- Site preparation
- Level and install condenser pad, verify clearance from windows and vegetation, and prepare condensate routing for indoor units.
- Duct, plenum, and coil integration
- If replacing an air handler, the indoor coil and plenum are fitted to match airflow requirements. Duct modifications or sealing are completed before startup.
- Electrical hookup
- Dedicated circuit and disconnect are installed to code. The system is grounded and properly fused.
- Refrigerant line and vacuuming
- Linesets are run and the system is vacuumed and leak tested before charging with the correct refrigerant charge per manufacturer specs.
- System startup and commissioning
- Technicians check airflow, static pressure, refrigerant pressures, and electrical loads. Thermostat calibration and zoning controls are configured.
- Final walk-through and documentation
- You receive operating instructions, warranty paperwork, and confirmation that permits and inspections are complete or scheduled.
Warranties, permits, and compliance
- Manufacturer warranties cover parts and, in some cases, labor if installed by a certified contractor. Confirm registration requirements and retain paperwork.
- Local permits and inspections are commonly required in Sisters and ensure the installation meets safety and code requirements. Professional installers handle permit pulls and inspector coordination to keep everything compliant.
- Proper installation records and start-up reports are essential for honoring extended warranties and for potential future home sales.
What homeowners should expect on installation day
- Arrival window and crew introduction. Technicians bring tarp and boot covers to protect floors and landscaping.
- A clear workspace around indoor equipment and the planned outdoor condenser site. Expect moderate noise during removal and initial testing.
- Temporary disruption to cooling during the swap out, with the full process often completed in a single day for typical systems.
- A final system demonstration showing how to use the thermostat, set schedules, and maintain filters. You should receive printed start-up data and warranty documents.
Post-installation care and long-term benefits
- Routine maintenance keeps efficiency high: filter changes, coil cleaning, refrigerant checks, and blower maintenance. Annual tune ups prevent surprises and protect warranty requirements.
- An appropriately installed and sized system will reduce energy bills, maintain consistent comfort, reduce humidity issues, and minimize repair frequency.
- If you are considering energy upgrades or rebates, keep installation and start-up documentation handy for local utility incentive programs.
Schedule Your AC Installation with Mountain View Heating, Inc.
When it’s time to upgrade your comfort, trust Mountain View Heating, Inc. — Sisters’ trusted HVAC experts since 1979. Our team combines precision installation, personalized design, and long-term reliability to ensure your home stays cool, efficient, and comfortable year-round. From load calculations to system commissioning, every step is handled with professional care and code compliance.
Ready to get started? Contact us today to schedule your professional AC installation in Sisters, OR, or explore our flexible financing options to make your new system even more affordable. Experience total comfort — the Mountain View Heating way.