


How the Indoor and Outdoor Units Are Connected (And Why It Matters for Your Home)
How the indoor and outdoor units are connected is one of the most important things to understand about your home's heating and cooling system. Here's a quick breakdown:
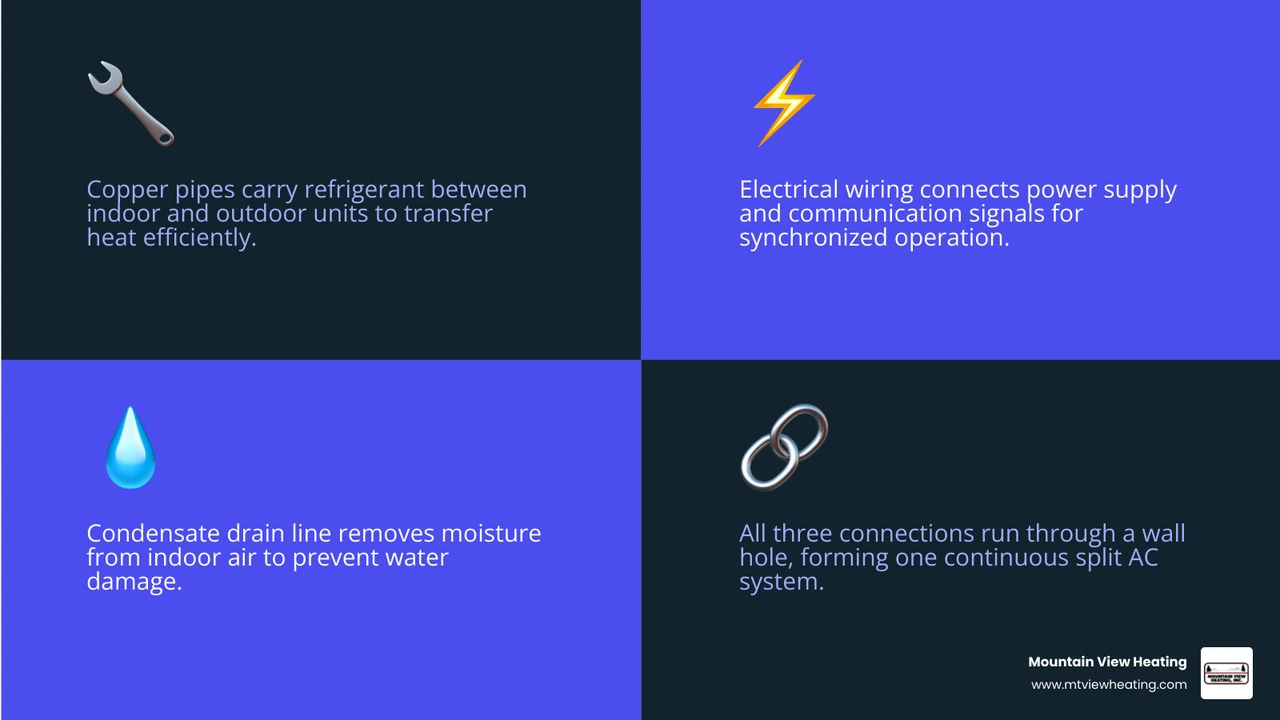
The three main connections between indoor and outdoor units:
1. Refrigerant lines - Copper pipes (a liquid line and a gas line) carry refrigerant back and forth between the two units to transfer heat
2. Electrical wiring - A power cable and a communication (signal) cable link the units so they can work together
3. Condensate drain line - A pipe that carries moisture removed from indoor air to a safe drainage point
Most homes in Bend, Oregon rely on a split system — meaning one unit sits inside your home and one sits outside. These two units don't work independently. They're joined by a set of lines that run through a small hole in your wall, forming a single, continuous system.
When those connections are done right, your system runs efficiently and quietly. When they're not, you end up with poor performance, refrigerant leaks, or worse — a system that breaks down entirely.
Understanding what's happening inside that bundle of pipes and wires helps you spot problems early and ask the right questions when a technician comes out to service your system.
The Core Components of Your Split System
To understand the "secret link," we first need to look at what is being linked. In a standard residential setup, whether it’s a central air conditioner or a heat pump, the system is "split" into two halves.
The Indoor Unit (The Air Handler or Furnace)
Inside your home—perhaps in a closet, the attic, or mounted on a wall—sits the indoor unit. Its main job is to move air. Key parts include:
• Evaporator Coil: This is where the magic happens. Cold refrigerant flows through these coils, absorbing heat from your indoor air.
• Blower Fan: This fan pulls warm air from your rooms, pushes it across the cold coils, and sends the newly chilled air back into your living space.
• Air Filter: A simple but vital component that catches dust and pollen before they can clog up your expensive machinery.
• Ignitor: In systems that include a furnace for winter heat, the ignitor is the modern, reliable component that starts the heating process.
The Outdoor Unit (The Condenser)
Outside, usually on a level pad in your yard, is the "muscle" of the system.
• Compressor: Often called the "heart" of the AC, it pumps refrigerant through the entire system.
• Condenser Coil: This is where the heat absorbed from inside your home is released into the Oregon air.
• Fan: This pulls outside air across the condenser coils to help dissipate that heat quickly.
While these units live in different worlds—one in the climate-controlled comfort of your home and the other braving the High Desert elements—they must communicate and share resources constantly. For a deeper dive into these setups, you can check out our guide on Ductless Mini-Split Systems Explained.
How the indoor and outdoor units are connected: The Three Main Links
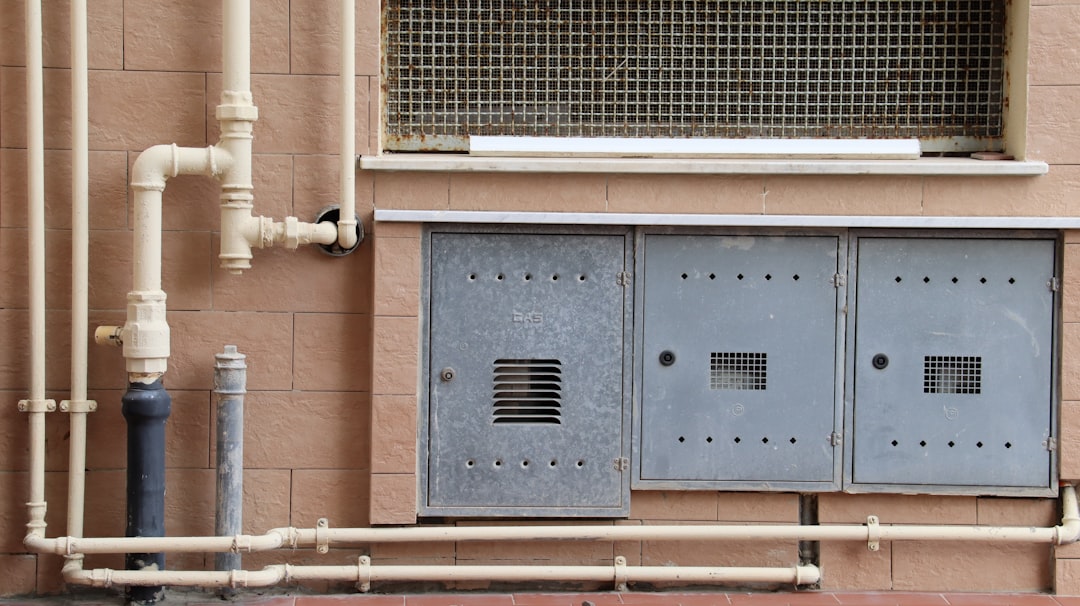
If you look at the back of an outdoor unit, you’ll see a bundle of pipes and wires wrapped in black insulation entering your home through a single hole. This bundle is often called a "line set." It is the umbilical cord of your HVAC system, and it serves three critical functions: refrigerant transfer, electrical power/communication, and moisture management.
How the indoor and outdoor units are connected via refrigerant lines
The most vital physical link is the refrigerant piping. These are typically made of high-quality, dehydrated, phosphorus-free copper.
1. The Liquid Line: This is the smaller of the two pipes (often Φ6.35mm to Φ9.52mm). It carries high-pressure, liquid refrigerant from the outdoor condenser back to the indoor evaporator.
2. The Gas (Suction) Line: This is the larger pipe (ranging from Φ9.52mm to Φ15.88mm). It carries low-pressure, gaseous refrigerant that has "soaked up" the heat from your home back to the outdoor unit to be compressed and cooled again.
These lines are not just bare copper. They must be wrapped in heavy-duty thermal insulation. This prevents the pipes from losing their "cool" (literally) and prevents condensation from dripping inside your walls. For many homeowners in Redmond or Sisters looking for high-efficiency options, Mini-Split Systems offer an excellent way to utilize these connections without the need for bulky ductwork.
How the indoor and outdoor units are connected through electrical wiring
Electricity is the "brain" and "brawn" of the connection. There are usually two distinct types of wiring involved:
• Power Supply: The outdoor unit usually requires a dedicated high-voltage circuit from your main electrical panel. From there, power is often "daisy-chained" to the indoor unit through a specific power cable.
• Communication (Signal) Cable: This is a lower-voltage, often shielded cable that allows the indoor thermostat to tell the outdoor compressor when to turn on, what speed to run at, and when to switch from cooling to heating.
One of the most common installation mistakes we see is improper terminal matching. If "Terminal 1" on the indoor unit isn't perfectly matched to "Terminal 1" on the outdoor unit, the system won't just fail to work—it could suffer permanent circuit board damage. This precision is part of why we often get asked, Do Ductless Mini-Splits Use a Lot of Electricity? The answer often depends on how efficiently these electrical components are communicating!
Finally, per safety standards, an isolator switch (or disconnect) is installed near the outdoor unit. This allows us to safely cut power to both units during maintenance without having to run back and forth to your breaker box.
Step-by-Step: Routing and Protecting the Connection Lines
When we install a system in a home in Sunriver or La Pine, we follow a very specific protocol to ensure these connections last for decades.
1. Creating the Portal: We typically use a 65mm core drill to create a clean hole through the exterior wall. This hole is then lined with a plastic wall sleeve to protect the pipes and wires from sharp edges and to prevent pests from entering your home.
2. Managing the Distance: While line sets are available in lengths like 15, 25, or 50 feet, there are limits. For most residential systems, the maximum pipe length is around 35 meters (about 115 feet), with a maximum vertical separation of 15 meters. If the units are too far apart, the compressor has to work too hard, and the refrigerant won't return oil to the "heart" of the system correctly.
3. Bending with Care: Copper is flexible, but it can kink. We use specialized bending tools to ensure the refrigerant flow is never restricted.
4. Weatherproofing: Once the lines are through the wall, we seal the gap with high-quality silicone sealant or expandable foam. Outside, the lines are often encapsulated in Colorbond trunking—protective covers that match your home’s exterior and shield the insulation from UV rays and curious Central Oregon wildlife.
This meticulous routing is especially important for Ductless Heating and Cooling for Homes Without Ductwork, where the connection lines are often more visible on the exterior of the home.
Testing the Connection for Peak Performance in April 2026
As of April 2026, modern HVAC standards require rigorous testing before a system is ever turned on. You can't just hook up the pipes and "hope for the best."
The Nitrogen Pressure Test
Before adding any refrigerant, we fill the copper lines with dry nitrogen to a high pressure (often around 500-600 PSI). We leave this for a set period to ensure there are zero leaks in our flare connections or solder joints. If the gauge needle moves even a hair, we find the leak and fix it.
The Vacuum Pull (Evacuation)
Air and moisture are the enemies of an AC system. We use a high-powered vacuum pump to remove every last molecule of air and moisture from the lines. We measure this with a micron gauge, aiming for a level of 500 microns or less. Once we hold that vacuum for 15 minutes, we know the system is "clean" and bone-dry inside.
Final Commissioning
Only after the vacuum is confirmed do we open the service valves to release the refrigerant. We then verify the "charge"—adding or removing small amounts of refrigerant based on the exact length of the piping we installed.
Multi-Split vs. Single-Split Connection Differences
While a standard "single-split" connects one indoor unit to one outdoor unit, many homeowners in the Bend area are opting for "multi-split" systems. These allow for multi-zone control, meaning you can have a different temperature in the bedroom than in the living room.
• Indoor Units — Single-Split Connection: Exactly 1 — Multi-Split Connection: Between 1 and 6 (sometimes up to 8)
• Refrigerant Lines — Single-Split Connection: One pair (liquid/gas) — Multi-Split Connection: Multiple pairs or a "branch box"
• Wiring Complexity — Single-Split Connection: Simple point-to-point — Multi-Split Connection: Complex, often requiring a central hub
• Total Pipe Length — Single-Split Connection: Up to 35 meters — Multi-Split Connection: Up to 80 meters total
• Best For — Single-Split Connection: Open floor plans or single rooms — Multi-Split Connection: Whole-home comfort with zoning
In a multi-split setup, the outdoor unit is much larger and contains more sophisticated electronics to manage the flow of refrigerant to multiple locations simultaneously. If you're torn between these options, our Central AC vs Ductless Mini-Split Comparison can help clarify which connection style fits your home's layout.
Frequently Asked Questions about AC Connections
Why is insulation necessary on the refrigerant lines?
Insulation serves two purposes. First, it prevents the refrigerant from absorbing heat from the outside air before it gets to your indoor unit (which would waste energy). Second, it prevents the cold pipes from "sweating." Without insulation, that condensation would drip behind your drywall, leading to mold and water damage.
Can a homeowner connect the indoor and outdoor units themselves?
While there are "quick-connect" DIY kits available, we strongly advise against it for several reasons. Handling refrigerants like R-32 or R-410A requires a specialized license because they are high-pressure gases and can be environmentally harmful if leaked. Furthermore, improper wiring can void your manufacturer's warranty and create a fire hazard. Professional installation ensures the system is pressure-tested and evacuated correctly.
What is the maximum distance allowed between the two units?
For most residential systems, the maximum "run" is about 115 feet (35 meters). However, the "vertical lift" (how much higher one unit is than the other) is usually limited to about 50 feet (15 meters). If you exceed these limits, the oil that lubricates the compressor won't be able to "climb" back to the outdoor unit, leading to a premature (and expensive) engine failure.
Conclusion: Expert AC Service in Bend
How the indoor and outdoor units are connected is the foundation of your home's comfort. Whether it’s the precision of the flare connections on your refrigerant lines or the careful matching of electrical terminals, every detail matters. At Mountain View Heating, we’ve spent over 40 years perfecting these "secret links" for homeowners across Central Oregon.
From the snowy winters in Sisters to the scorching summers in Redmond and Terrebonne, we ensure your system is installed to the highest standards. We take pride in our "100% customer satisfaction" guarantee, treating every small repair or full system replacement with the same level of care.
If you’re noticing unusual noises, poor airflow, or just think it’s time for a modern upgrade, don't leave your connections to chance. We provide 24/7 emergency support and expert advice tailored specifically to our unique High Desert climate.
Ready to ensure your home's "secret link" is in top shape? Contact us today for professional Mini-Split Installation in Bend, OR and experience the difference that four decades of local expertise makes.