



What to Do Before Your Mini Split Gets Installed
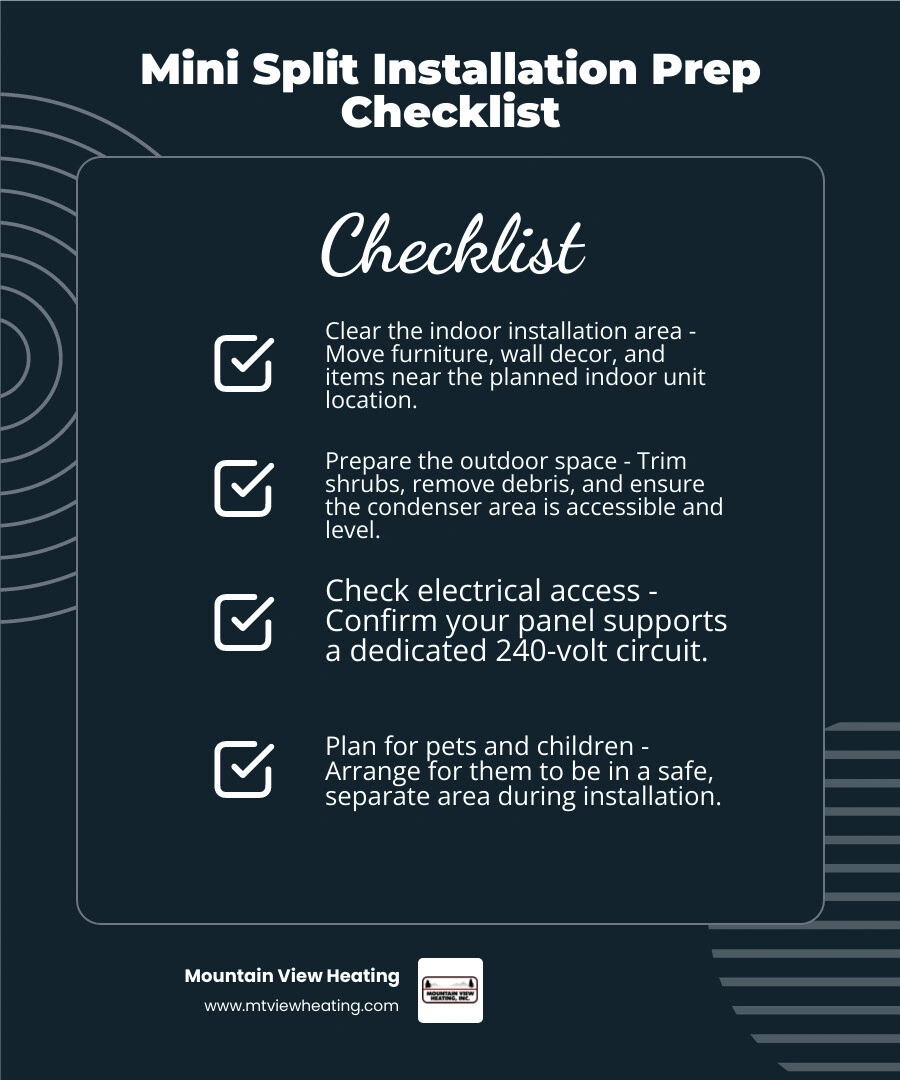
Knowing how to prepare your home for mini split installation day can make the difference between a smooth, single-day job and a frustrating, drawn-out process. Here is a quick checklist to get you ready:
1. Clear the indoor installation area - Move furniture, wall decor, and any items stored near the planned indoor unit location.
2. Prepare the outdoor space - Trim back shrubs, remove yard debris, and ensure the condenser area is accessible and level.
3. Check electrical access - Confirm your electrical panel can support a dedicated 240-volt circuit (or 120-volt for smaller units).
4. Plan for pets and children - Arrange for them to be in a safe, separate area for the day.
5. Make arrangements for technician access - Decide if you will be home or how installers will enter.
6. Inspect delivered equipment - Check boxes for damage and confirm the correct model before install day.
A little prep goes a long way. Most professional installers can complete a single-zone system in one day — but only when the site is ready for them.
Getting a new ductless mini split system installed in your Bend, Oregon home is an exciting step toward year-round comfort. But like most home improvement projects, what happens before the technicians show up matters just as much as the work itself. When the installation area is clear, the electrical setup is ready, and access is sorted out in advance, your installers can focus on doing the job right — not working around obstacles.
Most system failures trace back to installation errors, not the equipment itself. That means the conditions your home provides on install day directly affect how well your new system performs for the next 15 to 20 years. A little preparation now protects that investment for the long haul.
Why Preparation Matters for Your New System
When you learn how to prepare your home for mini split installation day, you aren't just making life easier for our technicians; you are actively protecting your new investment. A well-prepared home ensures that the installation is performed with the highest level of precision.
One of the biggest reasons to focus on prep is your warranty. Most major manufacturers will void a 10- or 12-year compressor warranty if the system isn't installed and pressure-tested by a professional. By clearing the way, you ensure we have the space to perform critical tasks like pulling a deep vacuum (below 500 microns) and performing a nitrogen pressure test. These steps are what prevent expensive repairs or the need for a premature system replacement down the road.
Preparation also directly impacts your monthly utility bills. Every watt saved from professional-grade insulation and proper unit placement shows up as a lower electric bill. In fact, there is often a 10-20% difference in efficiency between a "sloppy" installation and a professional one done in a clean, prepared environment. For more on how these systems impact your wallet, check out 3 Ways a Ductless Mini-Split System Can Save You Money.
Finally, a prepared home is a safe home. Mini split installations involve high-voltage electrical work and handling refrigerants under high pressure (often exceeding 400 psi). Keeping the workspace clear reduces the risk of accidents and ensures the job is finished on schedule.

Choosing the Best Locations for Indoor and Outdoor Units
Before the big day arrives, you should have a solid idea of where the units will go. While our team will help finalize these spots during the initial walkthrough, understanding the logic behind unit placement helps you prepare the right areas of your home.
Indoor Unit Placement
For Mini Splits to work effectively, they need plenty of "breathing room." The indoor air handler should ideally be mounted on an exterior wall. This makes it much easier to route the refrigerant lines and the condensate drain line directly outside.
To get the best air distribution, we typically mount these units about 7 to 8 feet above the floor. You want to avoid placing the unit directly above electronics or expensive furniture, just in case of a rare drainage issue. Also, try to keep the unit away from direct sunlight or other heat sources (like a kitchen stove), as this can trick the internal thermostat and cause the system to work harder than it needs to. For a deeper dive into the mechanics, see Ductless Mini-Split Systems Explained.
Outdoor Unit Placement
The outdoor condenser needs a stable, level surface. We often use a concrete pad or specialized wall brackets to keep the unit off the ground. It needs at least 12 inches of clearance on all sides and several feet of open space in front to exhaust air properly. If the unit is "choked" by plants or walls, it will overheat, leading to premature failure.
How to Prepare Your Home for Mini Split Installation Day
The actual day of installation is a busy one. To keep things moving, you’ll want to focus on three main areas: furniture, wall access, and landscaping.
When you think about how to prepare your home for mini split installation day, think about the "path of the line set." This is the bundle of copper pipes, wires, and drain tubing that connects the indoor unit to the outdoor one. We will need to drill a 2- to 3-inch hole through your wall to pass these through. If there is a piano, a heavy bookshelf, or a wall-mounted TV in the way, it will delay the process.
For homeowners looking for Mini-Split Installation Bend OR, our local climate means we often have to deal with specific outdoor challenges like snow or heavy pine needles. Clearing these away before we arrive ensures a stable foundation for your outdoor unit.
How to Prepare Your Home for Mini Split Installation Day: Indoor Clearing
The indoor portion of the job is where the most activity happens. Here is how to get your interior ready:
• Move the Big Stuff: Any furniture directly under the installation site should be moved to the center of the room. This gives our technicians space for ladders and tools.
• Protect Your Floors: While we do our best to be tidy, installation involves drilling and heavy equipment. Laying down drop cloths or moving area rugs can protect your flooring from dust and scuffs.
• Dust Protection: Drilling through drywall or siding creates dust. If you have sensitive electronics or delicate decor nearby, it’s a good idea to cover them with plastic sheeting or move them to another room.
• Wall Decor: Remove pictures, mirrors, or clocks from the wall where the unit will be mounted. The vibrations from drilling can sometimes cause items on the other side of the wall to shift as well.
• Pet Safety: This is a big one. Between the noise of the drills and the front door being open as we move equipment, pets can get stressed or try to bolt. For Mini-Split Installation Sisters OR residents, we recommend keeping pets in a crate, a separate room, or even boarding them for the day to ensure their safety and our technicians' ability to move freely.
How to Prepare Your Home for Mini Split Installation Day: Outdoor Access
The outdoor unit is the "heart" of your system, and it needs a clean environment to be installed correctly.
• Trim the Greenery: If you have shrubs or bushes near the installation site, trim them back so there is at least a 3-foot perimeter of clear space. This isn't just for the installation; it’s for the long-term health of the unit’s airflow.
• Level the Ground: If we are installing the unit on a ground pad, the area needs to be level. If your yard has a significant slope, you might need to do some minor grading or choose a wall-mount option.
• Clear Debris: Remove any yard waste, toys, or dog mess from the area. If you’re in an area like Redmond, ensure the path from the street to the installation site is clear of obstacles. Our team will appreciate the easy access when carrying the heavy condenser unit. For more local tips, visit Mini-Split Installation Redmond OR.
Addressing Electrical and Structural Requirements
One of the most technical parts of how to prepare your home for mini split installation day involves your home’s "bones" and power.
Electrical Capacity
Most mini split systems require a dedicated circuit. Smaller units (9,000 to 12,000 BTU) might run on 120-volt power, but most whole-home or multi-zone systems require a 240-volt circuit. Before installation day, it is a good idea to check your electrical panel. Do you have two empty slots for a new double-pole breaker? If your panel is already full, you might need an upgrade before the HVAC team can finish the job.
We will also install an electrical disconnect box near the outdoor unit. This is a safety requirement that allows a technician to cut power to the unit locally when performing future Mini-Split AC Sunriver OR services.
Structural Integrity
The indoor unit typically weighs between 40 and 50 pounds. It cannot be hung on drywall alone; the mounting bracket must be screwed into the wall studs. Most homes have studs spaced 16 inches apart. If you have an older home with non-standard framing, let us know ahead of time so we can bring the right mounting hardware.
We also have to consider what is inside the walls. When we drill that 3-inch hole for the line set, we have to avoid existing electrical wires, plumbing pipes, and structural headers. If you know of any "hidden" utilities in the wall, sharing that info with your installer is incredibly helpful.
Communication and What to Expect When Technicians Arrive
When our Mountain View Heating team arrives at your home in Bend or the surrounding areas, the first thing we will do is a "pre-game" walkthrough. This is the perfect time to ask questions and confirm the plan.
The Walkthrough
We will confirm the exact placement of the indoor air handlers and the outdoor condenser. We will also map out the route for the line sets. If you have a preference for how the "line-hide" (the plastic cover that protects the pipes on the outside of your house) looks, now is the time to speak up. We want the final result to be as aesthetically pleasing as it is functional.
Equipment Inspection
Even though we handle the heavy lifting, it’s a good practice for homeowners to take a quick look at the equipment when it arrives. Check for any obvious dents in the boxes. While we inspect everything before it leaves our warehouse, shipping damage can happen, and catching it early prevents delays.
Access and Comfort
Installers will be moving in and out of your home frequently. If you have a specific door you’d prefer we use, or if there are "off-limits" areas of the house, just let us know. We pride ourselves on 100% customer satisfaction, and that includes respecting your home while we work. If you ever need a tune-up later, you can find us at Mini Split Service Bend OR.
Frequently Asked Questions about Mini Split Preparation
How long does a typical installation take?
For a standard single-zone system, a professional installation usually takes between 4 and 6 hours. If you are installing a multi-zone system (one outdoor unit connected to three or four indoor units), it can take a full day or sometimes two, depending on the complexity of the line runs.
Do I need to be home for the entire process?
While you don't necessarily need to stand over our shoulders, we highly recommend being home for the first 30 minutes (the walkthrough) and the last 30 minutes (the system demonstration). We want to show you how to use the remote, how to clean the filters, and ensure you are happy with the placement before we leave.
What should I do with my pets during the visit?
As mentioned earlier, the best move is to keep pets in a secured room or board them. The noise of a hammer drill going through an exterior wall can be very frightening for dogs and cats. Plus, with technicians moving in and out, it’s all too easy for a curious cat to slip out the front door.
Common Challenges Preparation Can Help Mitigate
Even with the best planning, "surprises" can happen during an HVAC install. However, knowing how to prepare your home for mini split installation day helps us pivot quickly if a problem arises.
• Hidden Obstructions: Sometimes we find a vent pipe or a stray wire exactly where the line set hole needs to go. If the room is already cleared of furniture, it’s much easier for us to shift the unit a few inches to the left or right to avoid the obstacle.
• Drainage Issues: Mini splits rely on gravity to drain the water they pull out of the air. If the wall isn't clear, it’s harder for us to ensure the drain line has the necessary downward slope.
• Unlevel Surfaces: If the outdoor area isn't cleared of debris, we might find that the ground is too soft or uneven for the condenser pad. Clearing the yard ahead of time allows you to spot these issues before we arrive with the 150-pound unit.
Post-Installation: The Final Steps
Once the units are mounted and the lines are connected, we don't just pack up and leave. There is a critical "commissioning" phase.
1. The Vacuum Test: We use a vacuum pump to remove all air and moisture from the copper lines. This is vital because moisture inside the lines can turn into acid, which will eat the compressor from the inside out.
2. The Release: Only after the vacuum holds do we release the refrigerant into the lines.
3. The Test Run: We will turn the system on and check the temperature at the vents to ensure it’s cooling (or heating) to specification.
4. The Cleanup: We make sure to tidy up any drywall dust or wire clippings. A professional job should leave your home looking just as clean as when we arrived—just much more comfortable!
Conclusion
Preparing for your mini split installation doesn't have to be a chore. By following these steps, you ensure that your home is ready for a seamless transition to high-efficiency comfort. At Mountain View Heating, we’ve spent over 40 years serving the Bend, Oregon community, and we know exactly what it takes to get the job done right the first time.
From Sunriver to Redmond and everywhere in between, we prioritize 100% customer satisfaction. When you take the time to clear the paths and prep the walls, you’re helping us deliver the best possible service.
Ready to upgrade your home's climate control? Whether you're in the middle of planning or ready to book, we're here to help. For expert Mini-Split Installation Bend OR, give us a call today and let's get your home ready for the comfort you deserve.