


Heat Pump Installation in Sunriver, OR
When you’re dealing with an aging heat pump, uneven comfort, rising energy use, or a system that can’t keep up in Sunriver, OR, it’s time to get the problem handled correctly. Mountain View Heating is known for honest pricing, dependable service, and trusted technicians, using a targeted inspection to confirm system needs, eliminate the problem, and help keep the issue from coming back with properly matched equipment. Year-round comfort matters now, and we install quickly to restore efficient heating and cooling.
Why a Heat Pump Makes Sense in Sunriver Homes
Sunriver and the greater Central Oregon region experience cold winters, notable temperature swings, and dry air. Modern heat pumps efficiently handle these conditions by transferring heat instead of generating it—delivering both winter heating and summer cooling. For Sunriver residents, a properly chosen system from Mountain View Heating, Inc. reduces fossil fuel dependence, lowers monthly energy costs, and ensures improved indoor comfort throughout the year.
Common Heat Pump Types and Ideal Options for Sunriver
- Air-Source Heat Pumps: The most common type—efficient for year-round heating and cooling in moderate cold. Cold-climate models maintain solid performance in lower temperatures.
- Ductless Mini-Splits: Perfect for homes without ductwork, additions, or zoned comfort needs. They offer targeted temperature control with minimal installation disruption.
- Hybrid Systems: Combine a heat pump with a gas furnace for maximum efficiency and consistent warmth during the coldest days.
Choosing the right system with Mountain View Heating, Inc. depends on your home’s construction, ductwork condition, comfort preferences, and local climate characteristics.
Initial Home Assessment and Heat-Load Calculations
A professional installation begins with an in-home assessment and detailed heat-load calculation to determine exact system requirements.
Key Evaluation Steps:
- Room-by-room heat loss and gain analysis using industry standards like Manual J—considering insulation, windows, orientation, and occupancy.
- Inspection of utility connections and electrical panels to ensure adequate capacity.
- Ductwork evaluation to identify leaks, mismatched sizing, or restricted airflow.
- Site inspection for outdoor unit placement, ensuring optimal noise reduction, airflow, and snow clearance.
Proper sizing by Mountain View Heating, Inc. prevents short cycling, conserves energy, and guarantees effective heating for Sunriver’s winter climate.
Selecting Capacity and Efficiency
System capacity should always be based on heat-load results, not square footage.
Efficiency Metrics to Consider:
- HSPF (Heating Seasonal Performance Factor): Measures heating efficiency.
- SEER (Seasonal Energy Efficiency Ratio): Evaluates cooling performance.
- Cold-Climate Ratings: Determine how well the system performs in low temperatures.
Our experts at Mountain View Heating, Inc. recommend systems that balance affordability, energy efficiency, and reliability for Sunriver’s unique temperature range.
Site Preparation, Ductwork, and Electrical Upgrades
Proper site preparation ensures the heat pump’s performance and longevity.
Preparation Steps Include:
- Creating a stable concrete pad or mounting bracket for the outdoor unit.
- Maintaining 2–3 feet of clearance for airflow and service access.
- Designing condensate drainage and freeze protection systems.
Ductwork and Electrical Considerations:
- Repairing or sealing ducts to minimize energy loss.
- Rebalancing or resizing ducts for optimal airflow.
- Installing a dedicated circuit, correct breaker sizing, and communication wiring between indoor and outdoor units for multi-zone systems.
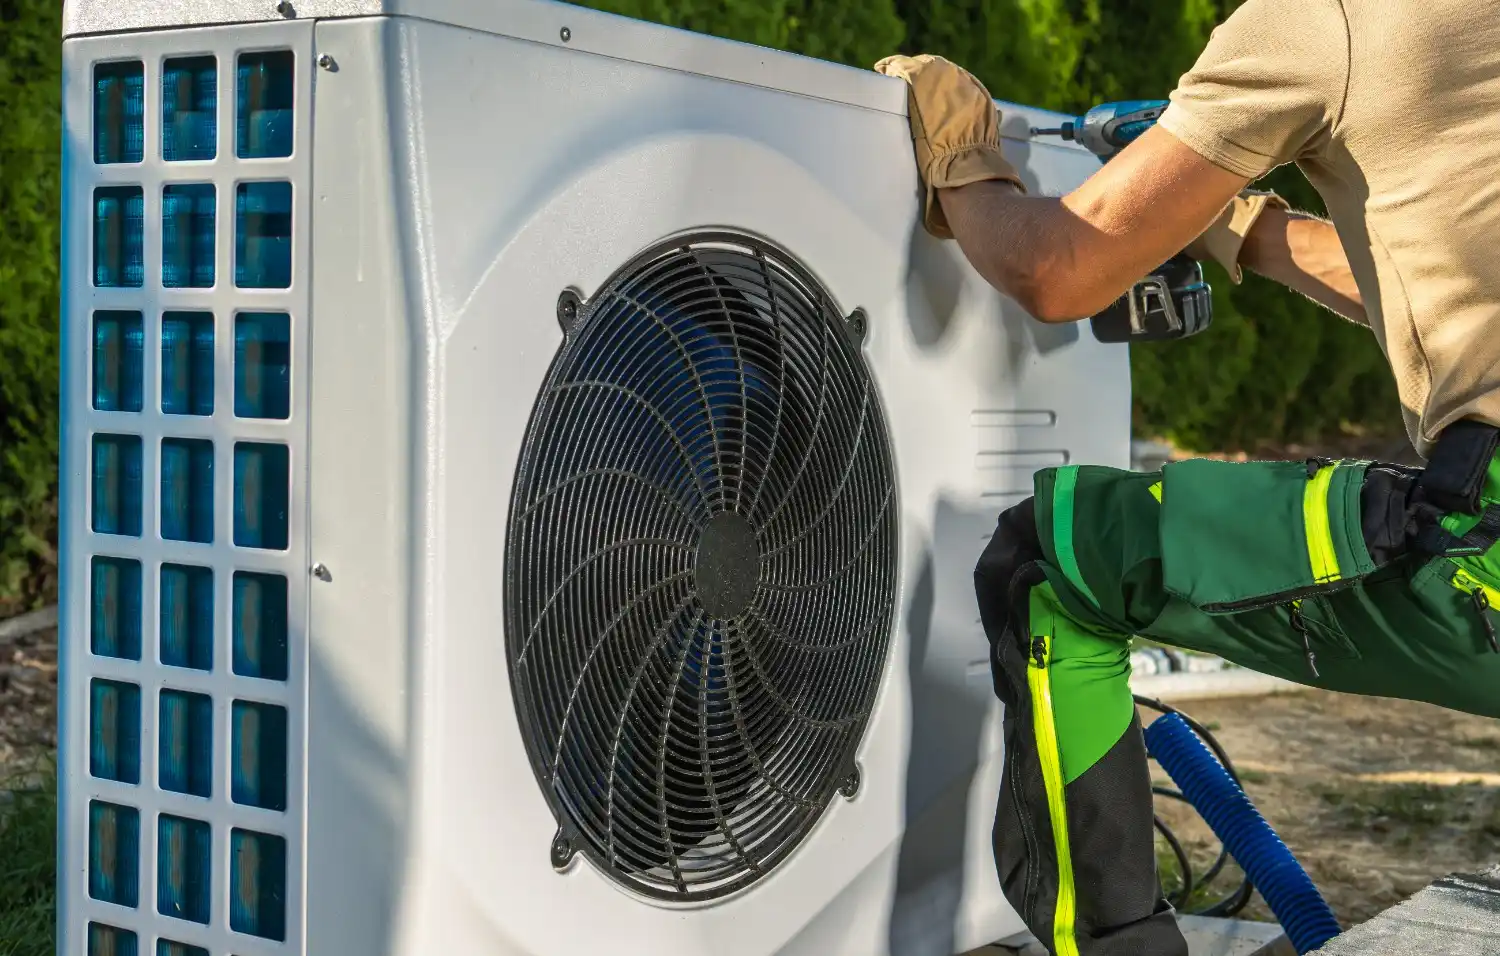
Step-by-Step Professional Installation Process
- Finalize system selection and secure necessary permits.
- Prepare the installation site with proper clearances and routing for refrigerant and electrical lines.
- Install indoor unit(s) and connect them to ductwork or mount wall/ceiling units for ductless systems.
- Secure the outdoor unit, connect refrigerant lines, and perform vacuum and charging per manufacturer specifications.
- Complete all electrical connections, thermostat installation, and insulation of refrigerant lines.
Every installation by Mountain View Heating, Inc. is neat, code-compliant, and designed to maintain your home’s integrity and comfort.
Commissioning and Performance Testing
Once installation is complete, commissioning verifies that your new system operates flawlessly.
The Process Includes:
- Checking refrigerant charge, pressure levels, and coil temperature differences.
- Testing airflow, electrical loads, and control functions.
- Measuring heating and cooling output to ensure it meets designed specifications.
- Demonstrating thermostat and zoning features for homeowner operation.
These documented tests establish performance benchmarks and ensure system reliability for years to come.
Warranty and Manufacturer Options
Mountain View Heating, Inc. partners with top manufacturers offering:
- Compressor and Parts Warranties: Typically ranging from 5 to 10 years or more.
- Extended Warranty Options: For parts and sometimes labor.
- Maintenance Requirements: Professional installation and regular service to maintain warranty validity.
Discuss warranty details before installation to fully understand coverage and maintenance schedules.
Expected Timeline and Cost Factors
Typical Project Timeline:
- Assessment and Estimate: 1 visit
- Permitting & Scheduling: Several days to a few weeks
- Installation: 1–3 days for most homes
- Commissioning & Orientation: Completed same day as installation finish
Key Cost Factors:
- Equipment type and efficiency level
- Number of zones or indoor units
- Ductwork repairs or replacements
- Electrical or panel upgrades
- Site complexity (slopes, access, snow, etc.)
Rebates, Incentives, and Financing
Homeowners can reduce upfront costs through federal tax credits, state energy programs, and local rebates for efficient systems. Mountain View Heating, Inc. helps customers identify available programs in the Sunriver area and offers financing options, including low-interest loans or flexible payment plans, to make comfort upgrades more accessible.
Maintenance and Long-Term Benefits
Regular maintenance ensures peak performance and warranty protection.
Recommended Practices:
- Annual tune-ups focusing on refrigerant, airflow, electrical checks, and controls.
- Regular filter replacements and keeping outdoor units clear of snow or debris.
- Prompt attention to performance issues.
A properly installed and maintained heat pump by Mountain View Heating, Inc. provides lasting comfort, reduced heating costs compared to older systems, and efficient all-season performance.
For dependable and energy-efficient comfort year-round in your Sunriver home, trust Mountain View Heating, Inc. for a professionally designed and installed heat pump system tailored to Central Oregon’s unique climate.
Schedule Your Heat Pump Installation with Mountain View Heating, Inc. Today
Experience year-round comfort and energy efficiency in your Sunriver home—contact Mountain View Heating, Inc. today to schedule your professional heat pump installation or request a free in-home estimate!