What to Expect From Mini Split Installation (The Short Version)
Mini split installation what to expect is a common question for Bend, Oregon homeowners who are tired of uneven temperatures, high energy bills, or rooms that no traditional duct system can reach.
Here's a quick overview of what the process looks like:
- Consultation and sizing - A technician visits your home, measures your space, and calculates the right system size for your needs.
- Indoor unit mounting - The air handler is secured to wall studs, typically 6-8 feet from the floor, for optimal airflow.
- Wall penetration - A 2.5 to 3-inch hole is drilled at a slight downward angle to route refrigerant lines, electrical wiring, and the drain line outside.
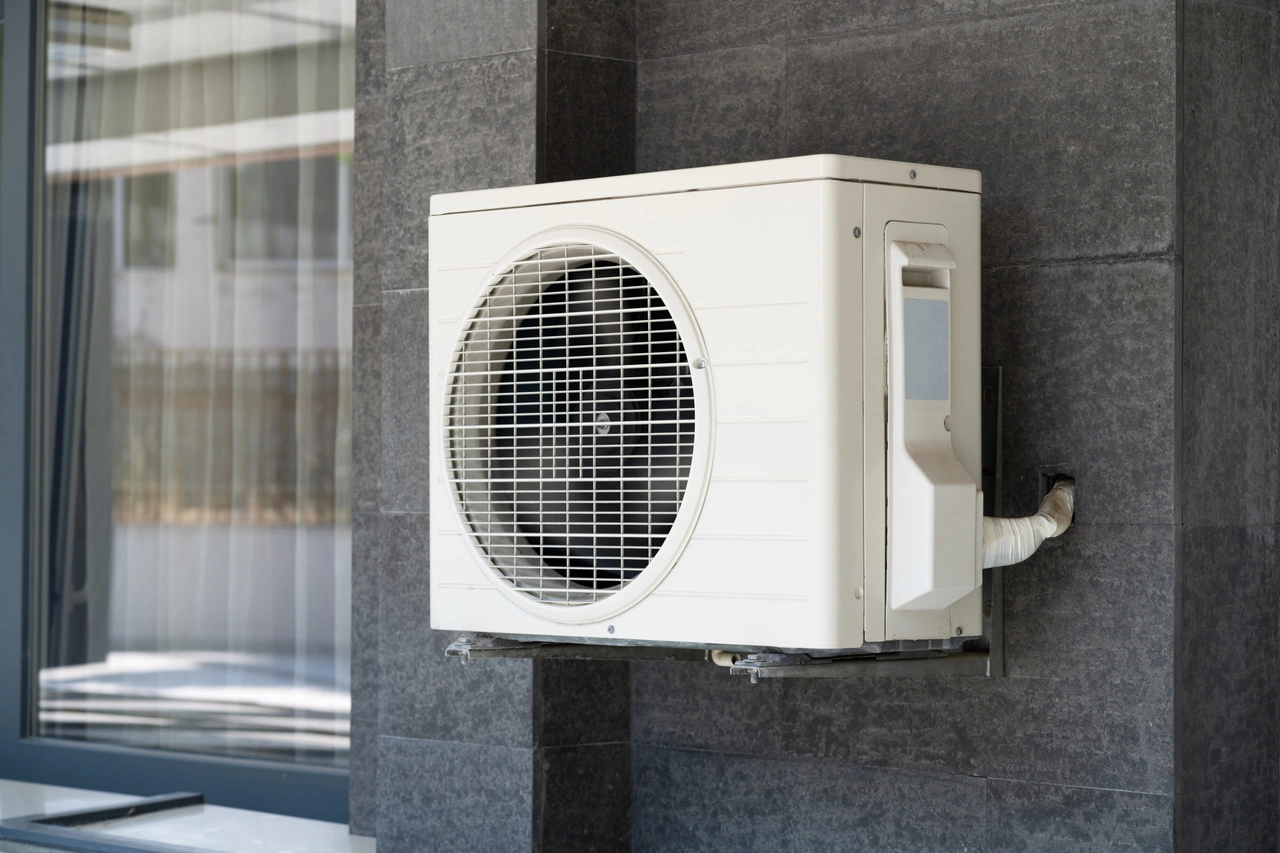
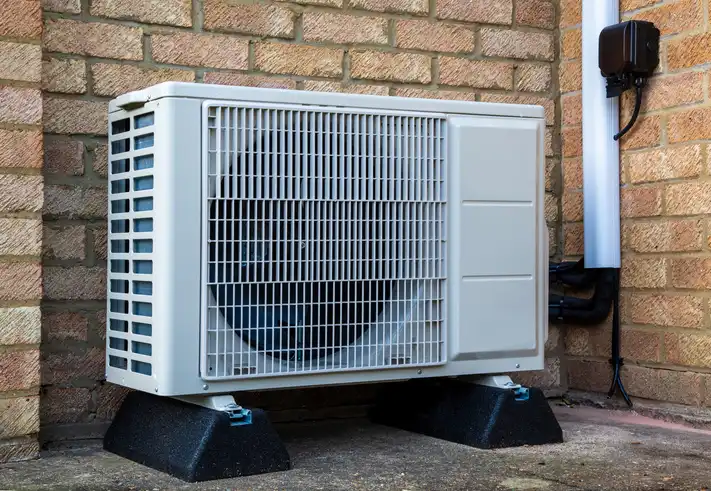
- Outdoor unit placement - The condenser is set on a level pad or wall bracket with 12-24 inches of clearance on all sides.
- System commissioning - Lines are pressure-tested with nitrogen, vacuumed to 500 microns, and the refrigerant is charged before the system is powered on.
- Final walkthrough - Your technician shows you how to use the remote, set timers, and keep up with basic maintenance.
For most single-zone systems, the entire process is completed in one day. Multi-zone installations covering several rooms typically take one to two days.
Central Oregon's high desert climate — with hot summers and cold winters — makes ductless mini splits a practical choice for homeowners across Bend, Redmond, Sisters, and surrounding areas. Whether you're adding comfort to a bonus room, a garage, or an older home without ductwork, knowing what to expect before the crew arrives makes the whole experience far less stressful.
This guide walks you through every phase of mini split installation, from choosing the right system to keeping it running strong for 15 to 20 years.

Understanding the Ductless Mini Split System
At its core, a ductless mini split is a highly efficient heat pump. Unlike traditional central air that pushes air through a complex web of metal ducts, a mini split delivers conditioned air directly into the room. This "ductless" design is the secret to its efficiency, as traditional HVAC systems can lose up to 30% of their energy through leaks and poor insulation in the ductwork.
The system consists of two primary parts: the indoor air handler and the outdoor condenser. These are linked by a "line set," which contains refrigerant tubing, power cables, and a suction line. One of the most impressive features of modern systems is the inverter-driven compressor. Think of a standard air conditioner like a light switch—it’s either 100% on or completely off. An inverter-driven compressor is more like a dimmer switch; it modulates its speed to match the exact heating or cooling demand of the room, which prevents the "stop-and-start" energy spikes that drive up utility bills.
When reviewing your options, you'll see ratings like SEER2 (Seasonal Energy Efficiency Ratio) for cooling and HSPF2 (Heating Seasonal Performance Factor) for heating. In May 2026, these ratings are higher than ever, with some high-efficiency units reaching SEER2 ratings of 28.5. For a deeper dive into the mechanics, check out our guide on Ductless Mini Split Systems Explained.
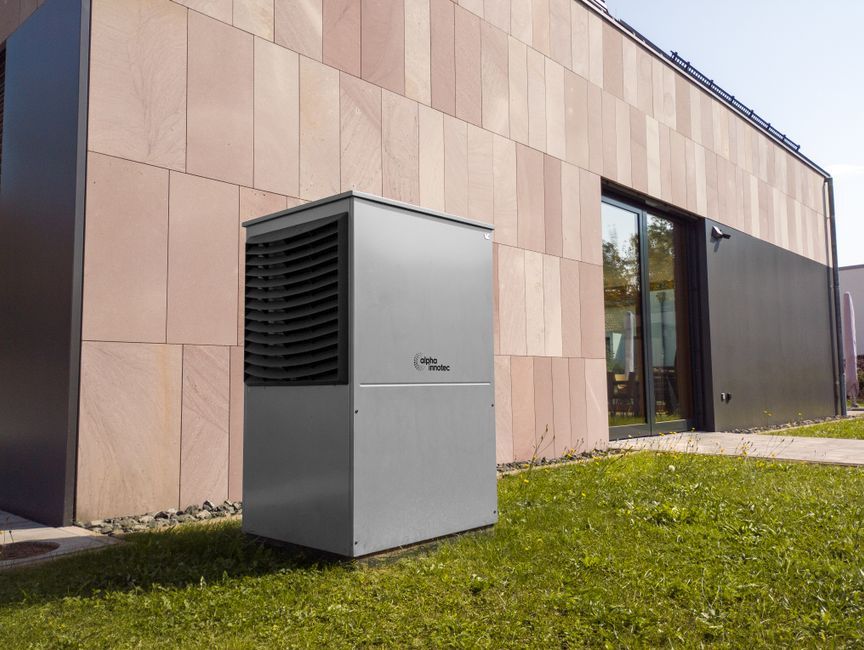
Benefits for Central Oregon Homeowners
Living in the high desert means we deal with some pretty dramatic temperature swings. A mini split is perfectly suited for this environment for several reasons:
- Zoned Comfort: You can heat or cool only the rooms you are actually using. If you have a guest room in Sunriver that stays empty most of the week, you don’t have to waste energy keeping it at 70 degrees.
- Quiet Operation: These units typically operate between 40 and 65 decibels. To put that in perspective, a traditional outdoor AC unit can roar at 90-100 decibels. Inside, it’s often quieter than a whisper.
- Energy Savings: Many homeowners see significant savings on monthly energy costs compared to traditional electric baseboard heating or older central air units.
- Improved Air Quality: Each indoor unit has its own filtration system to capture dust and allergens. Because there are no ducts, you don't have to worry about debris, pet dander, or mold accumulating in hidden spaces.
For more information on how these systems can transform your home, read about Mini Split Benefits for Homeowners.
Mini Split Installation: What to Expect During the Process

When our team arrives for your mini split installation what to expect starts with a clear plan. We don't just start drilling; we verify the layout one last time to ensure the indoor and outdoor units are positioned for maximum performance.
The first physical step is site selection. We look for interior walls that allow for even air distribution, avoiding spots directly above electronics or behind curtains. Once the spot is confirmed, we install a sturdy mounting bracket. It sounds simple, but this bracket must be perfectly level; if it’s even slightly tilted, the condensation that naturally forms during the cooling process won't drain correctly, which could lead to water dripping down your wall.
Next comes the "core drill." We use a specialized hole saw to create a 2.5 to 3-inch opening through your exterior wall. We always drill this at a slight downward angle toward the outside. This ensures that gravity helps the condensate drain line carry water away from your home. We then route the copper refrigerant lines, communication cables, and drain line through this hole, often protecting them with a "line-hide" cover that matches your home’s exterior for a clean, professional look. If you're ready to start this process, we specialize in Mini Split Installation Bend OR.
Preparing Your Home for Mini Split Installation: What to Expect
To make installation day go as smoothly as possible, there are a few things you can do to prepare:
- Clear the Workspace: Move any furniture or breakables away from the wall where the indoor unit will be mounted. Our technicians need a clear path to work safely.
- Mounting Height: Standard wall-mounted units need to be at least 6-8 feet from the floor. This height allows the air to "throw" across the room effectively. We also need about 6 inches of clearance from the ceiling for proper air intake.
- Outdoor Clearance: The outdoor condenser needs room to breathe. We look for a spot with 12-24 inches of clearance on all sides and at least 60 inches of clear space above it.
- Electrical Panel Access: We will need access to your electrical panel. Most mini splits require a dedicated 208-240 volt circuit. If your home was built before 1990, we’ll check to make sure your panel has the capacity for the new load.
Whether you are in a historic home or a newer build, we provide expert Mini Split Installation Sisters OR to ensure every technical requirement is met.
System Commissioning and Testing
This is the most critical phase of the installation. Once the units are mounted and the lines are connected, we don't just flip a switch. We perform a series of technical tests to ensure the system will last for decades.
First, we perform a nitrogen pressure test. We fill the lines with high-pressure nitrogen to verify there are absolutely zero leaks in the copper flares. Next, we use a vacuum pump to perform a "deep vacuum." This removes all air and moisture from the lines. We use a micron gauge to ensure the vacuum reaches below 500 microns. If moisture is left in the lines, it can mix with the refrigerant and form acid, which will eventually "murder" your compressor.
Finally, we release the refrigerant and verify the "Delta T"—the temperature difference between the air going into the unit and the air coming out. This confirms the system is cooling or heating at peak efficiency. For residents in La Pine, we offer specialized Mini Split Installation La Pine OR that focuses on these high-precision commissioning steps.
Professional vs. DIY: Why Expert Installation Matters
With the rise of "DIY" mini split kits, it’s tempting to think this is a weekend project. However, mini split installation what to expect involves much more than just hanging a box on a wall.
In the United States, federal law (EPA Section 608) requires anyone handling refrigerants to be certified. Venting refrigerant into the atmosphere is illegal and carries heavy fines. Beyond the legalities, there is the matter of safety. You are dealing with high-pressure gases and 240-volt electrical circuits. One wrong move can result in a "live" unit that could electrocute anyone who touches it, or high-pressure refrigerant that can cause severe skin and eye damage.
Furthermore, almost all major manufacturers (like Mitsubishi, Lennox, or Carrier) require professional installation to validate their warranties. If a DIY-installed compressor fails in three years, you could be stuck with the full burden of replacement. Hiring Mini Split AC Contractors Redmond OR Guide ensures that your investment is protected by a valid manufacturer warranty and a labor guarantee.
Risks of Improper Setup
When a system isn't installed with professional precision, things can go wrong quickly. Common issues include:
- Acid Formation: If the lines weren't vacuumed to 500 microns, moisture remains. This moisture reacts with the oil in the system to create acid, which eats the motor windings from the inside out.
- Water Damage: A drain line that isn't angled correctly or a mounting plate that isn't level can cause water to back up and flood your drywall, leading to mold growth.
- Short Cycling: If the system is sized incorrectly (using "rule of thumb" instead of a Manual J load calculation), it will turn on and off too frequently. This wears out the components and fails to dehumidify the air.
If you’re currently dealing with a system that wasn't quite installed right, we can help with Mini Split Repair Bend OR.
Post-Installation Care: What to Expect for Longevity
Once your system is up and running, it can last 15 to 20 years with the right care. The good news is that mini split maintenance is relatively simple:
- Clean the Filters: This is the most important thing you can do. Check your filters every 2-4 weeks, especially if you have pets. Simply pop the front panel, slide the filters out, and rinse them in the sink.
- Clear Outdoor Debris: Ensure leaves, snow, or tall grass aren't blocking the airflow to your outdoor unit.
- Annual Tune-ups: Just like a car, your mini split needs a professional eyes-on inspection once a year. We check refrigerant levels, clean the coils, and ensure all electrical connections remain tight.
Consistent care is the key to efficiency. For expert help, look into Mini Split Service Bend OR.
Frequently Asked Questions about Mini Split Installation
How long does a standard installation take?
For a standard single-zone installation, expect our team to be at your home for 4 to 8 hours. If you are installing a multi-zone system (one outdoor unit connected to three or four indoor units), it typically takes 1 to 2 days depending on the complexity of the line set routing. We strive to be as non-intrusive as possible, often completing Mini Split Service Redmond OR in a single business day.
Do I need a permit for a mini split?
Yes. In virtually every jurisdiction in Central Oregon, including Bend, Redmond, and Sunriver, you need a mechanical permit for the unit and an electrical permit for the new circuit. These permits are for your protection. They ensure that an independent inspector verifies the work is up to code, which is vital for your home's resale value and your homeowner's insurance. We handle the permitting process for our Mini Split Installation Sunriver OR customers to make it a hands-off experience for you.
Can mini splits handle high desert winters?
Absolutely. While older heat pumps struggled in freezing temperatures, modern "cold-climate" mini splits are designed to provide 100% heating capacity even when it’s -5°F outside, and some continue to operate down to -13°F. For homes that need an extra layer of security, we can integrate these systems with ignitor-based backup heating. This makes Mini Split AC Sisters OR a reliable choice even during our coldest January nights.
Conclusion
At Mountain View Heating, we understand that upgrading your home's comfort is a big decision. With over 40 years of experience serving the Central Oregon community, we prioritize 100% customer satisfaction on every project. Our technicians are experts in the high desert climate, ensuring that your mini split installation what to expect is a seamless, professional experience from the first consultation to the final walkthrough.
In May 2026, there are more reasons than ever to make the switch. When you combine modern efficiency with our 24/7 emergency support and local expertise, there's never been a better time to go ductless.
Ready to take control of your home's comfort? Contact us today for a Mini Split Installation Bend OR and experience the difference that professional service makes.